After many many hours of effort, I finally have 20 boxes.


 Partial folded view...
 Fully folded up... not too bad considering it was my first attempt...
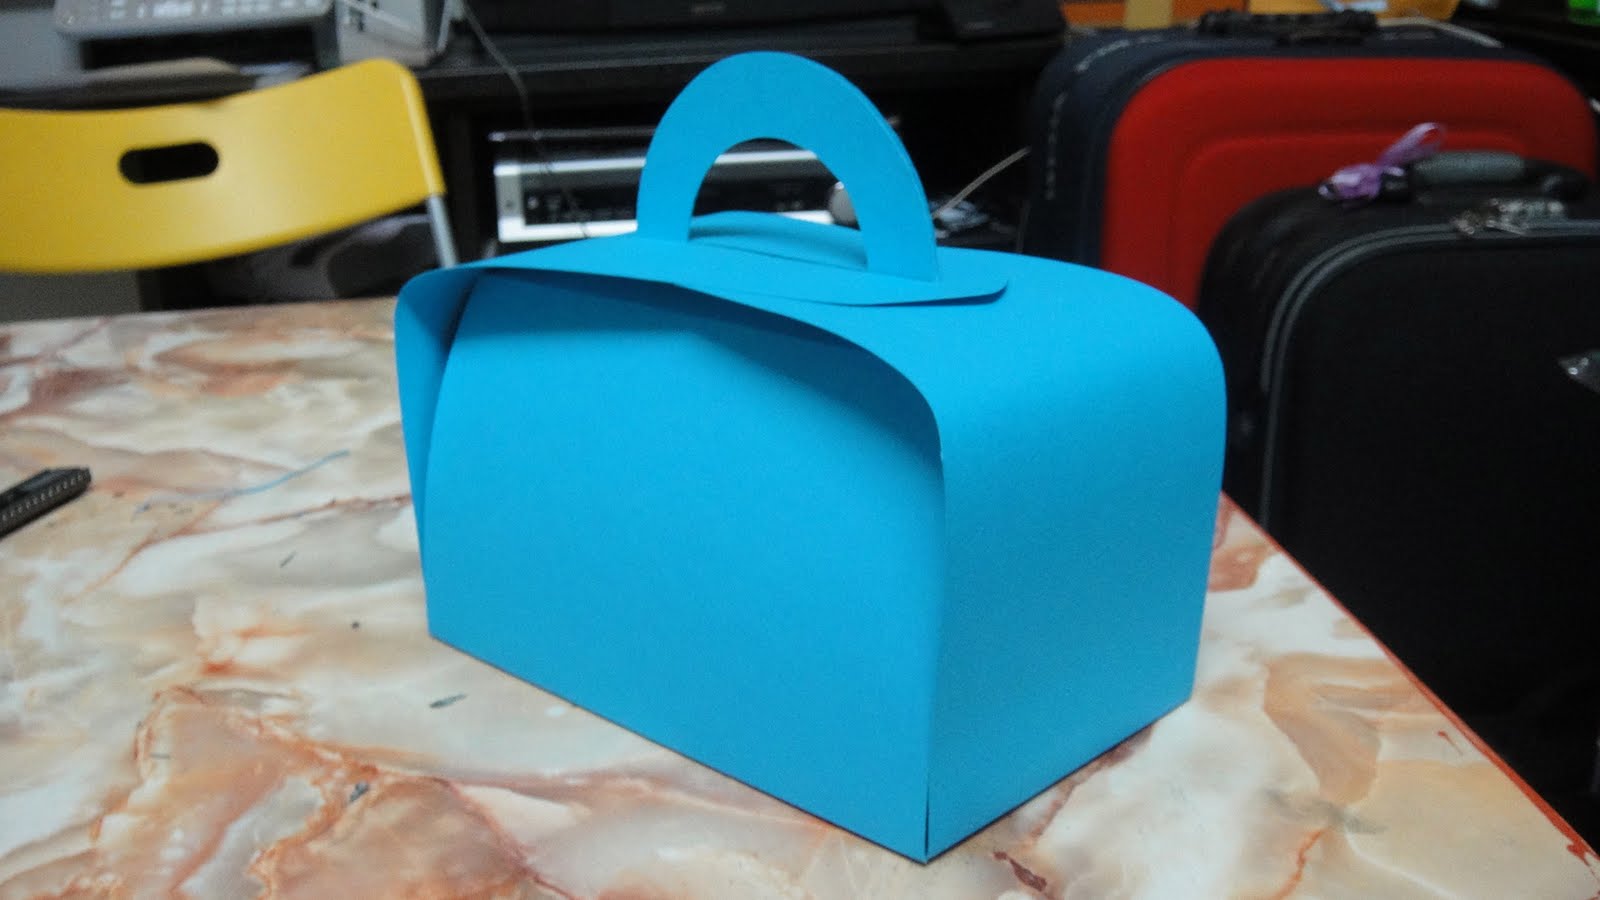 Top view...
 Side view...
 Then I thought it looked kinda plain... so I needed to jazz it up a bit.. found a piece of lime green paper and decided to put some stripe details at the bottom of the box...
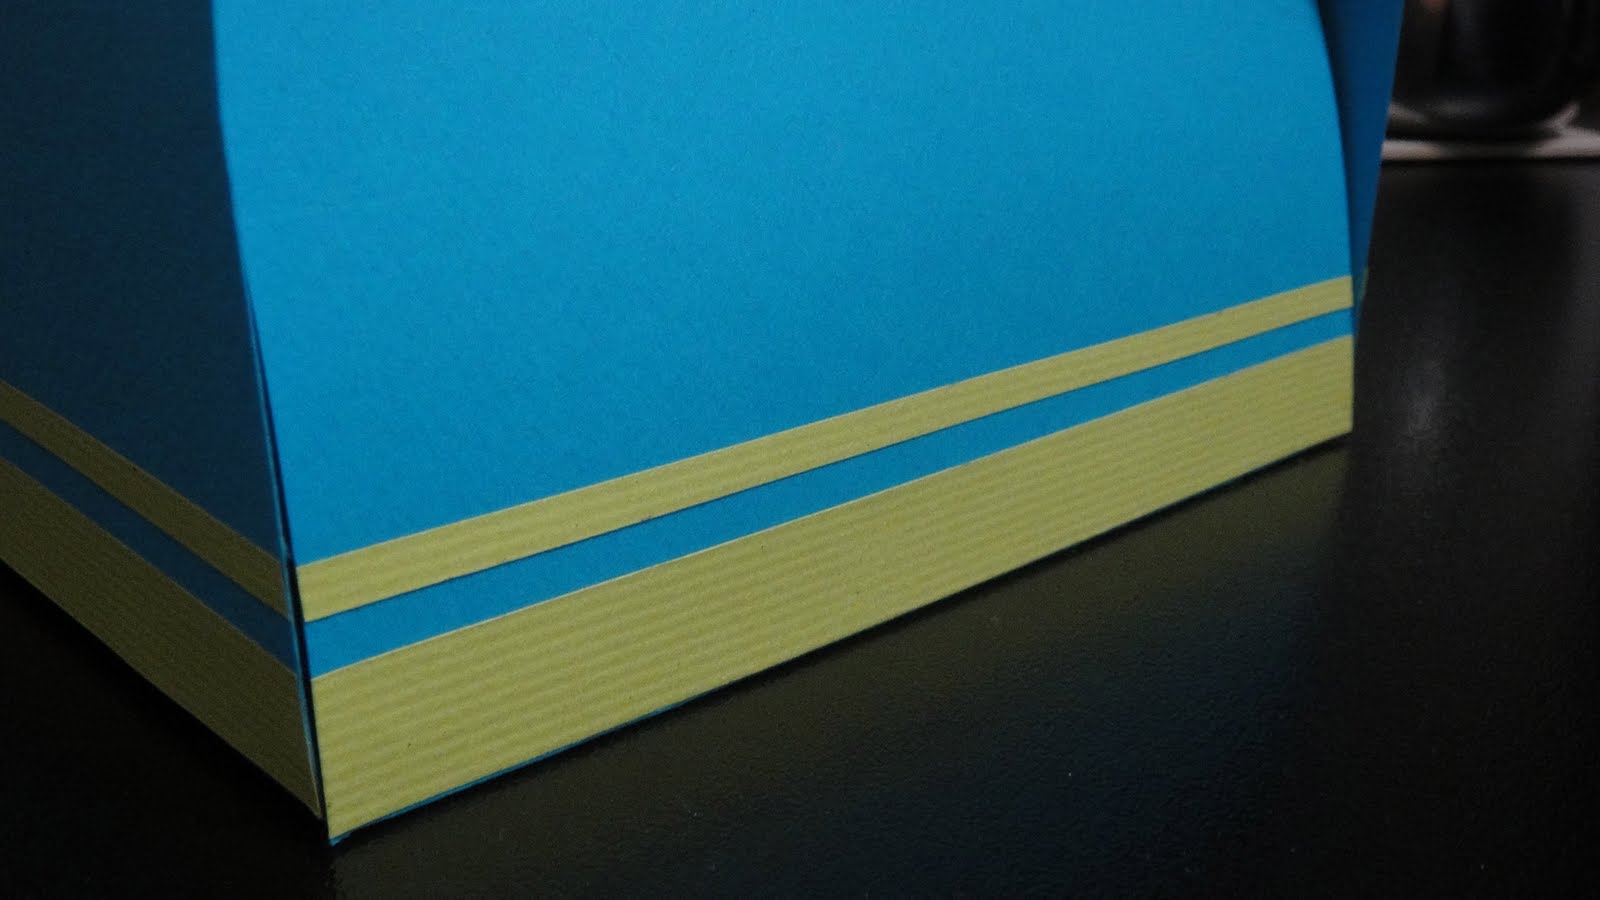 Turned out quite well I think... :)
 I then made the lid white so that the balloons would pop.... I had cut out little ballons of various colours and attached a string to each to make them look realistic... Then tied them all up with another bow...


 I also wanted to make the balloons more three dimensional so I used some pop dots to get more texture and depth....
 Then my sis asked whether I was planning to tie a ribbon around the whole box to hold them together.. that wasnt exactly the plan since that was come in they way of my balloon designs but my sis didnt want ppl simply lifting the lid and seeing the contents so I had a bit of thinking...
I decided to attach ribbons to the lid which would then go around the box from the bottom to hold it together and the ribbon would tie at the side of the box... I must say I quite like the outcome of this idea since it gave the box a twist.. Made it not so conventional... And then my sis asked me.. "Is there a card? " Jeez... for a free job she sure is asking for a lot... Oh well, I had some spare balloons left so I made her a simple card...
 All in all this was a fun project.. :) I had a chance to try out something new and made something cute...


 Finished it up with some cute buttons... stuck 2 together for a better grip and nicer colour combi...
 It's a great way to store photos or other memorabilia which you want to excess at anytime... Plus stacking would still be okay since it opens to the side... :)


 I used opaque white emboss to bring out the details of the stamped design....
 Inside was a pop-up christmas tree which was really a pain to construct.... It took make tedious hours of cutting, assembly and attachments to get it to look like that... there is also a cut-out detailing on the based for the added dimension....
 How it works...
 In full view...
 Many sleepless nites went into this.... Good? What's your thots?


Next up is a hard box .... Usually I just make rigid boxes with thick card-like paper however special request was for it to be a hard board box... something I have never done but have an inkling of how to do... so I got home last nite and plonked myself in front of my work table and started construction... lo behold!! It was a nice success... except for some not so neat corners as I mentioned... Request was also for the ribbon to not required re-tying so I had to have it only attached to the cover... to snaz it up a bit I added some pale pink paper flower to accentuate the green ribbon... outcome turned out to be kinda wedding favour-ish but very sweet looking... am quite pleased... the diagonal ribbon also made it look less standard.... :)


Well I hope the gf likes the boxes and keeps them.... I always preferred to place my presents into a box (unless they come is a box itself) so that the wrapping doesnt go to waste... the boxes and ribbons can be reused....
